Well here we are, the end of the semester, and the final week of my time at VIU completing my Visual Arts Diploma. As the last few days of the school year quickly melt away, and I immerse myself in helping with the finishing touches on the student Progressions art show, I am starting to realize the weight of all that I've accomplished over both this last semester, and also my past three years in art school.
I know it's been a while since my last posting, so I have a bit to catch up on, including the finishing details and glaze applications to my drums, the preparing and stretching of the deer hide, and my final thoughts and reflections on this past semester and all I've learned.
I have to begin by saying, that at the end of a challenging but extremely satisfying self directed study in ceramic drum making, I am proud to say that this may be my favorite artistic project and endeavor to date! I am so happy with the final product, and I met and surpassed all the expectations I set for myself. Needless to say, I finished them all, and the look, sound, and feel like 'real' drums, so I believe I am now able to confidently say, I'm a ceramic drum maker!
When I took on the challenge of making my own drums, I had absolutely no idea what I was in for, and how much I would enjoy the experience. I started with nothing more than the knowledge that I was interested in doing a self directed study in both functional and beautiful ceramic artworks. Then I was exposed to both the audio and visual sensations and rhythms of ceramic drums at the Oregon Country Fair, and I knew I wanted to explore it further.
I am just so fascinated with art objects becoming art subjects, and participating in art that serves art. Such as when different aspects of the artistic spectrum, such as ceramics and music, lend themselves to one another. I especially enjoy the way a drum as an art object, then becomes a subject when participating in a musical conversation, and how it takes on a voice and spirit of it's own.
I would like to say the whole process developed organically, and it did to a point, but it involved a lot of research, intense supply allocating, preparation, experimentation, problem solving, and some concentrated areas of frustration. All in all though, the drums were incredibly successful, and made it through the entire arduous process with absolutely no weak members or casualties along the way.

Every drum that I made is different from the next, and I tried to incorporate a myriad of techniques, silhouettes, sizes, finishes and cultural inspirations while creating each individual vessel. I learned something new with each process and approach, such as how to marble two different clay bodies together to create agate ware, how to burnish and polish a piece with beeswax for a buttery soft surface texture, and how to prepare and stretch a red tailed deer rawhide! Haha!
Red Tailed Deer Hide!
So, let's start with the deer hide, and the work and process that went into that...


The preparation of the hide began with removing it from the freezer, defrosting it slowly over a few days, then washing it several times to remove the lime it was cured in before soaking it.

I then removed the remaining hair by tugging it free from the hide,

and cut away the unusable, thin and damaged areas around the outside edge.

I then removed the excess sinew and fat on the underside of the hide using a knife, but a stone sharpened on one side would have been more preferable.


And here is it, much lighter and less smelly and disgusting!


Using charcoal to trace the bowl of each drum on the underside of the hide, I made sure to add 3 to 3.5 inches of excess room around the outside for punching, stretching and folding back up under the lip.

I then punched holes between 1/2'' to 2'' apart depending on the circumference of each drum,
and.
The cord it took me forever to search out in the colour black, is a very thing gauge polyester or nylon black climbing or marine rope that has little to no stretch, and is weight baring enough to withstand the tension of the drying skin,
Start by wrapping a piece of cord twice around the waist of the drum and tie loosely. Lace another piece of rope through the holes around the edge of the circular piece of hide, and place on top of the drum, gently tightening to keep in place. Start lacing you third much longer length of rope down through the rope around the waist, and back up through rope around the hide.Flip the drum over onto a towel and put a small bead of Elmer's white glue under the edge of the skin, nearest to the rim.

Flip the drum back upright, and begin tightening the center rope, stretching the hide as you go.
Do this about three to four times all the way around, until you have taken up all the slack, and the surface of the drum skin is taught.
I utilized the excess rope left from the tightening, and knotted it into a handle for holding and carrying

At this point, I placed a dampened sponge in the center of the drum to keep the playing surface wet while I using a hair dryer to dry around the rim to dry and set the glue as as soon as possible.

Then I placed it beside my wood stove overnight to finish drying out and tightening around the clay vessel.
Finished Drums with Skins!

Udu Drum!
 |
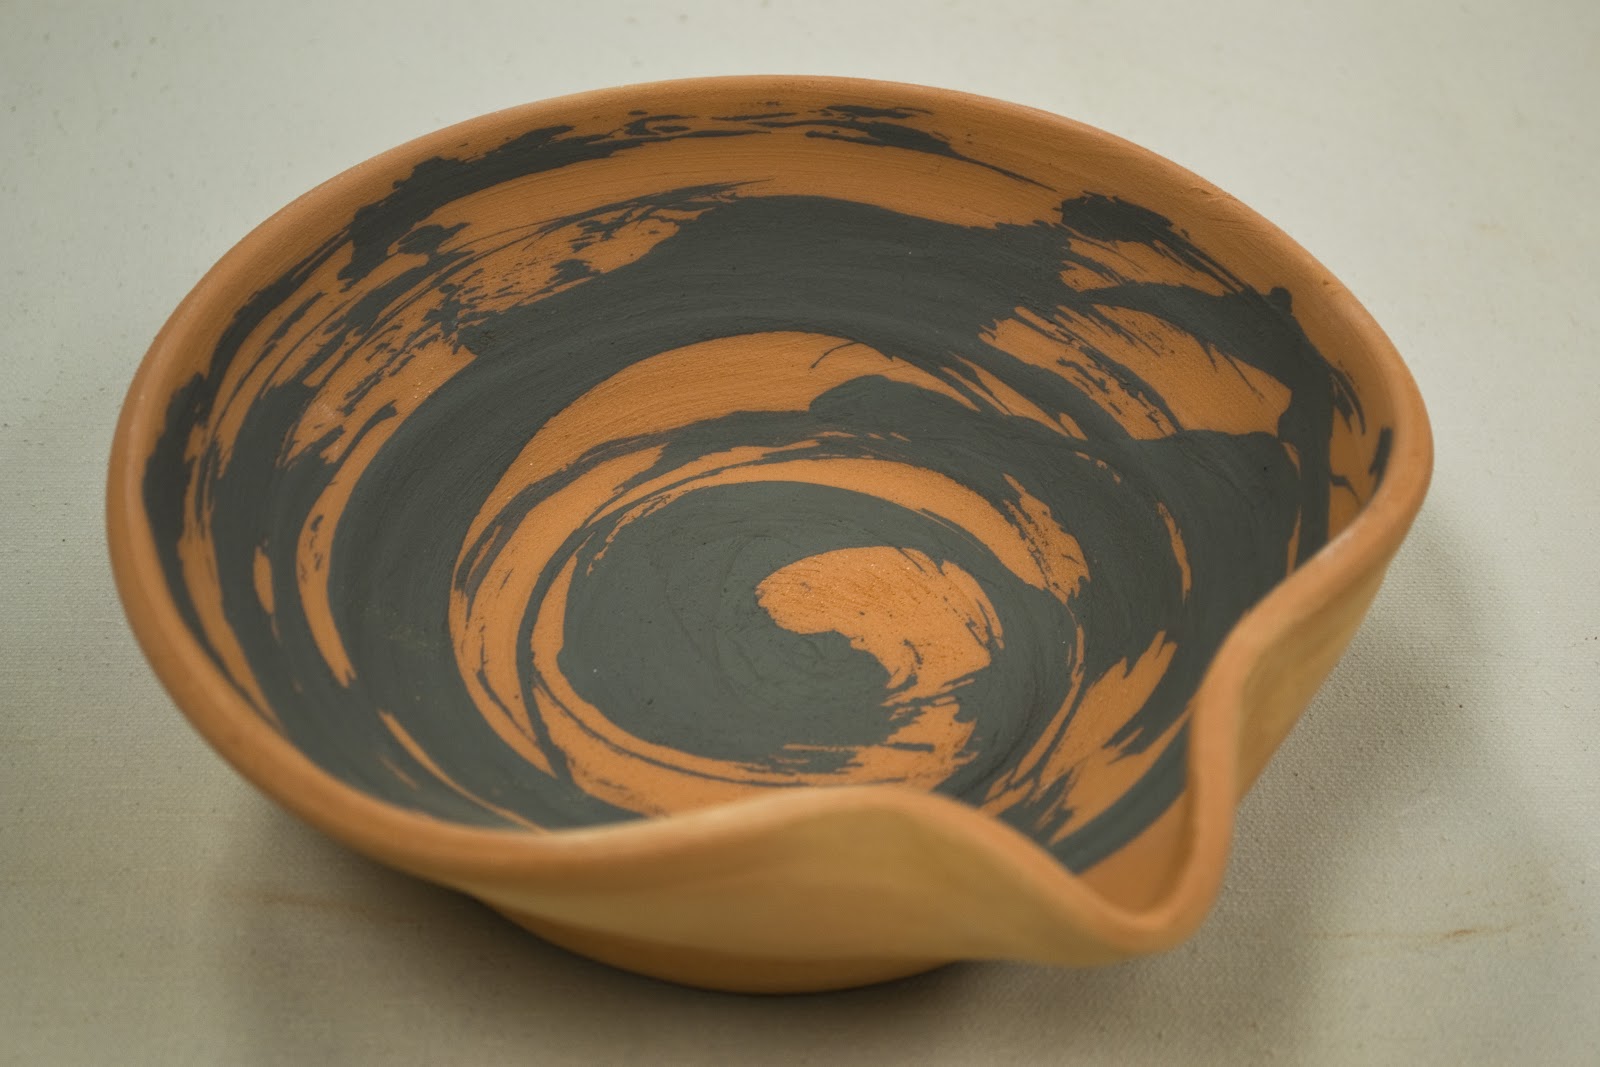
Agate Ware Drum! |


Here is the marbled and burnished agate ware drum.
Carved Two Pice Wheel Thrown Drum!

This is a mixture of Kingsmill and a Cobalt wash mixed together in the inlay.
 |
Hand Built Burlap Textured Drum!


Here is my hand built burlap textured drum,
which I applied just a thin layer of black glaze to the base of.

One Piece Wheel Thrown Drums!
 |
| The fur drum is simply a decorative, non stretched skin. |


 |
| This is one of the beautiful surprise glaze combinations that Ann-Alise had left over from last semester, and was kind enough to let me try out. I only had a written description to work from, but she had tested it on the same rd clay body I was utilizing to build my drums. |


And this is another beautiful surprise glaze combination result.

Monkey Drums!


Here are the beads for the monkey drums with a both the Kingsmill and a cobalt wash applied to them.

This drum was painted with the slips, and then a thin coat of clear was applied over top.


This monkey drum has a the Kingsmill wash applied to it.


This adorable set was painted with colored slips, with carving and slip trailing added on top, and then a thin coat of clear applied to seal it.


I find myself at the other end of this semester long project not wanting it to end, and knowing I will have to carry forward all I have learned, and continue to create these drums, simply because I have to. I found that as each drum continued to developed, and began to take on unique lives of their own, these drums became an investment and extension of myself. They are a part of me, and I can't wait to hear them sing!
As my drums make their way down to San Franscisco, and then back up the West Coast in a Volkswagen van to the very Fair they were inspired by this summer; and as their being paraded through the forest in the loving and exuberant grasps of all my favorite people in the world, I will simply be reminded that this project stands as my my most challenging, fulfilling, and successful creation to date.
I hope I am able to continue making them, and experimenting with all I have learned thus far, and the many ideas and concepts I didn't have the time to see through to fruition. If my drums are received by the public as well as they have been thus far, I hope I am also able to utilize the proceeds from selling them to continue to both produce them, and hopefully further develop my studio space!
So, this is farewell for now, but not forever, and here's hoping that everyone enjoyed following along with the experience a fraction as much as I enjoyed living it! Cheers, and over and out,
Kim King


